Thursday, February 7, 2013

Brine Thy Swine!

There are some tricks to making sure that your meats are tasty when you sit down to eat them. Just like you marinate chicken, you need to brine your pork. Bub is the one that taught me this business about brining swine and he learned it from his brother-in-law. Bub makes the best ribs. Hands down. (More on that later) And he always brines them overnight.

So, I applied the same principle to pork chops. Here's the deal with making a brine. It has always got to have vinegar of some sort in it. And then all the rest is just extra. Milk also helps make the meat more tender. For my brine I used
brine ingredients

  • 1/2 cup milk
  • 1/4 cup balsamic vinegar
  • 1/4 cup apple cider vinegar
  • 1/2 tbsp garlic
  • 1/2 tbsp poultry seasoning (yes, I know.)
  • salt and pepper
Pour all this in a zip loc with your pork chops and let it chill for several hours.

Set it and Forget it

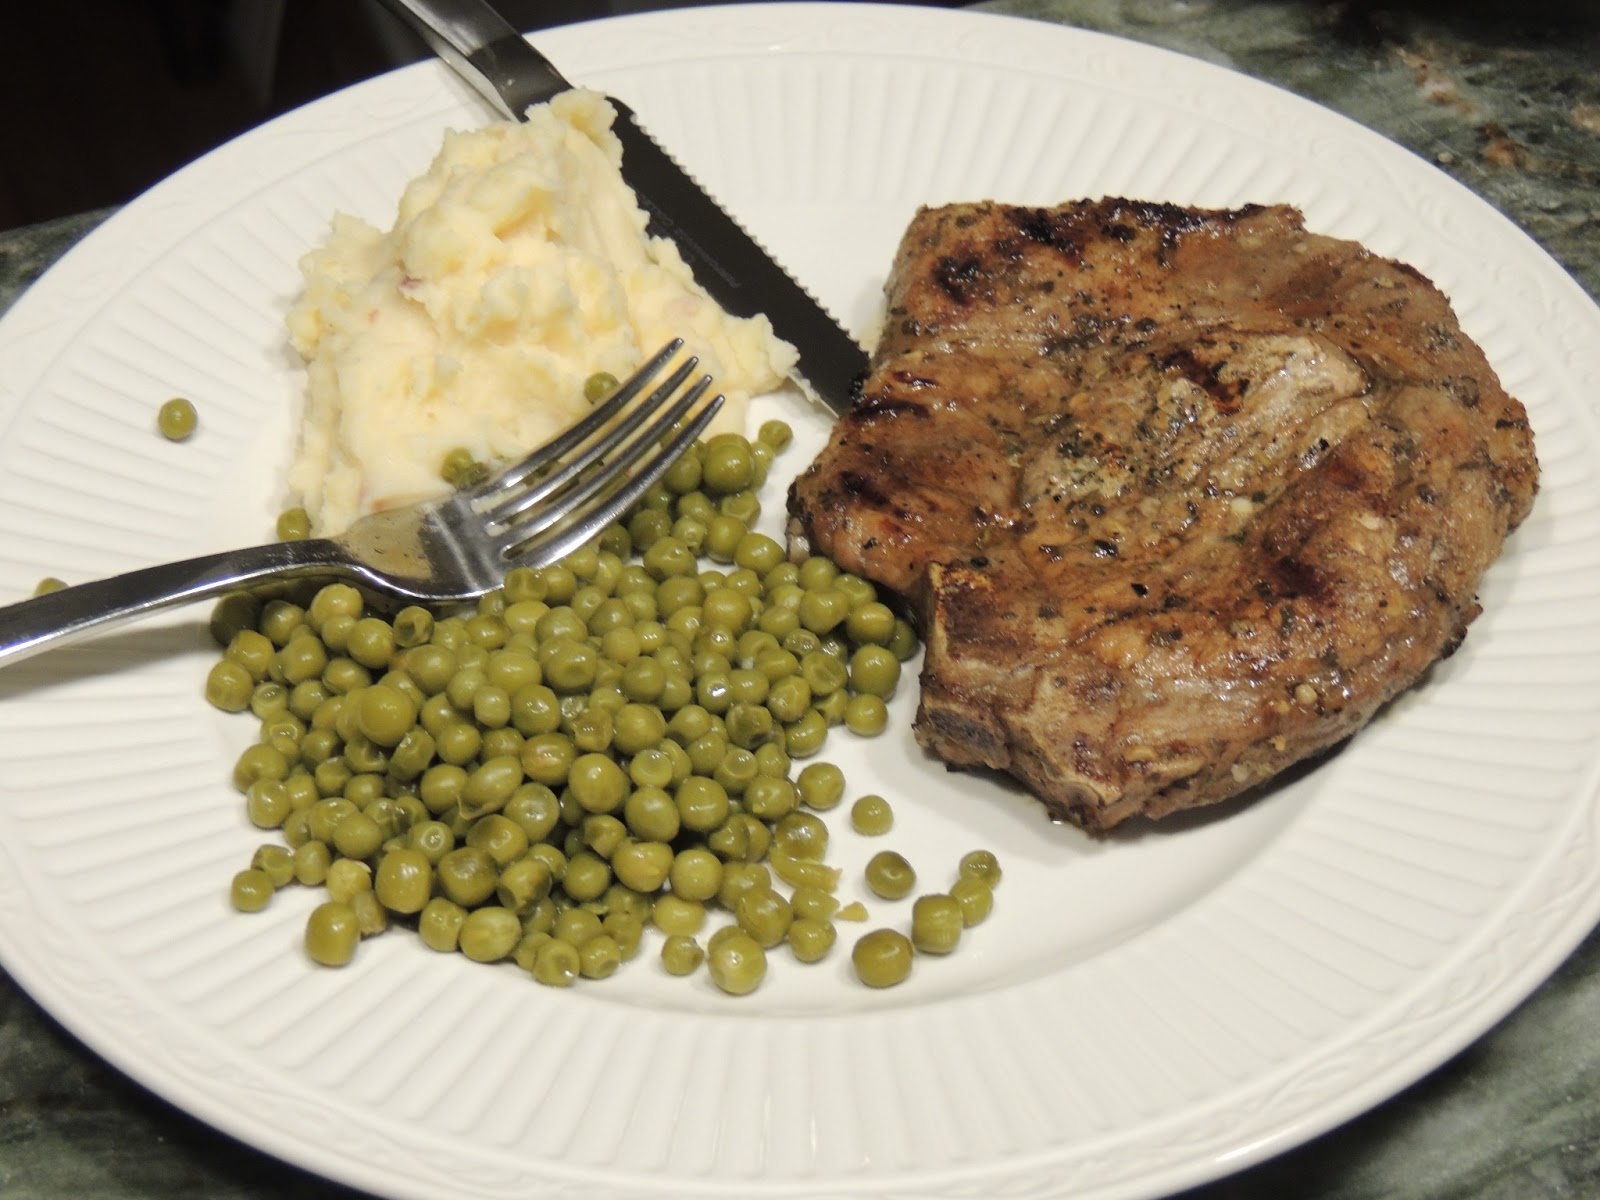
When I get ready to cook them, I take them straight out and proceed with it- either to the grill or cast iron skillet or oven or whatever. In this instance, they went on the grill.

All the better because of the brine!


Tuesday, February 5, 2013

Sweet Potato Casserole- Good for Your Soul.

If I could, I would eat sweet potato casserole every day of my life. I love it. Let me be clear though, I am not talking about the one with marshmallows. You can keep those marshmallows! I am talking about the one with the brown sugar/ butter/ flour and sometimes pecan topping.

Mary Made It!
Used to, I got it twice a year: Thanksgiving and Christmas. But all that changed when I took an interest in cooking and figured out that it is really not that hard to make. So now, we have it once every 6 weeks or so- I think that is often enough to not feel deprived and yet not so often that having it looses its special-ness. Also, I have to say, being as it's my favorite I know a good sweet potato casserole when I taste it: they are not all created equal. My Moma's recipe is one of the best and it really is easy to make (and it's in her cookbook).

There are two parts to the recipe, the sweet potatoes and the topping. Here is a list of all the ingredients for the sweet potatoes.

  • 6 cups cooked, mashed sweet potatoes 
  • 2 cups granulated sugar
  • 4 eggs, beaten
  • 2 teaspoons vanilla
  • 1 stick (1/2 cup) melted butter 
and for the topping

  • 1/2 cup brown sugar
  • 3/4 cup flour
  • 1/2 cup butter
  • 1 cup pecans, chopped

sweet potato casserole ingredients

Now, I would like to speak on what to do to get your sweet potatoes cooked and mashed. You can used canned but fresh is better and you can boil them, but baked is better. What my Moma does (and what I do) is line a cookie sheet with foil and bake them on 400 F until they are soft. Depending on how many you are cooking, depends on how long it takes. I usually bake a bunch of them, mash them and freeze the extra. Once they are baked, the skins will just peel off much easier than peeling them with a potato peeler. And also, they need to be pureed in a food processor so that the strings in them are destroyed.

Once you have your sweet potatoes pureed in the food the processor, combine all the sweet potato ingredients being mindful that if you put eggs in hot sweet potato puree you will have a mess, so let them cool a bit before you combine them. Once combined place the mixture in a greased 9 x 13 Pyrex.
Sweet Potato Puree
For Bub and I, I halved the recipe and put it in Corning ware. And then I mixed up the sweet potato casserole topping. This time, I left out the pecans- trust me, either way, it's excellent!
Sweet Potato Casserole Topping
And sprinkled it on top. I did not half the topping recipe because I like a lot!
sprinkled it on top
Cook it on 350 F for 30 minutes or until the topping is nice and brown (rather than tan).
Yum! Enjoy!

So, here's the recipe in full:


  • 6 cups cooked, mashed sweet potatoes 
  • 2 cups granulated sugar
  • 4 eggs, beaten
  • 2 teaspoons vanilla
  • 1 stick (1/2 cup)
Puree sweet potatoes in a food processor and combine all ingredients and place in a greased 9 x 13 Pyrex. Combine the following ingredients and crumble on top of casserole. Bake on 350 F for 30 minutes.


  • 1/2 cup brown sugar
  • 3/4 cup flour
  • 1/2 cup butter
  • 1 cup pecans, chopped


Thursday, January 31, 2013

Powerhouse Spinach & Fruit Smoothie

It started as an easy way to get a serving of spinach because even though I know it is good for me, spinach is not my favorite. This smoothie has turned into something I look forward to everyday. Really, you can put anything in it you like or leave out anything you don't like. I do not have an exact measurement for all the ingredients- I just eyeball them as I add to the blender- all roughly 1/2 cup. Here is my list of ingredients:

  • Spinach
  • Orange
  • Apple
  • Banana
  • Strawberry
  • Blueberry (1/4 cup-ish)
  • Pinapple/Peach/Mango Medley
  • Vanilla Flavored Greek Yogurt
  • Milk 
  • Chia Seeds (1 tablespoon)


Smoothie Ingredients

I begin with putting the Greek yogurt, milk, spinach and orange in the blender first and blending them. You can leave the Greek yogurt out, but it's loaded with protein. You can use another liquid besides milk like Sprite or Sprite Zero. Then I add one or two ingredients at a time and blend them until finally it is all blended together and I have a blended fruit smoothie. If I have more than will fit in my cup, I save it for later. This time of year, I am using a lot of frozen foods- but, it turns out great.

blended fruit smoothie

The final step is to sprinkle chia seeds on top and mix them in with my spoon.

chia seeds

You should try this powerhouse spinach and fruit smoothie- it is wonderful. I have turned my Moma and my Daddy into believers. I can even get Bub to drink a little every now and then!


Peanut Butter/Honey Balls- Don't mind if I do!

There is is this woman named Christy Jordan from North Alabama and she can cook! She has published a wonderful cookbook that is a great addition to any library. My Aunt Martha turned my Moma onto her who in turn turned me onto her. We have all enjoyed her cookbook, Southern Plate.

Southern Plate


I was flipping through it the other night looking for some inspiration when I came across her recipe for Peanut Butter Balls. She had my full attention at peanut butter. I love it! and I generally love any and everything to do with it. It just so happened that my grandmother had given me a jar of honey, so this recipe had my full attention. Moma has been telling me how good for you honey is and I knew this would be the perfect opportunity to consume honey.

Here's what the recipe calls for

  • 2 cups of honey or corn syrup
  • 3 cups creamy peanut butter
  • 5 cups dry milk powder
  • 6 cups quick-cooking oats
Peanut Butter and Honey Balls ingredients

And here are the directions: Mix it all together with a mixer, form it into balls, freeze it on wax paper-lined cookie sheets and then store in a Zip Loc in the freezer.

Peanut Butter and Honey Balls

First of all, these little suckers are delish. Second, they are healthy. Third, they are very addicting. The only things I will do differently next time, will be to nuke the peanut butter for a bit to get it easier to mix it all together and I will make my peanut butter ball a little bit smaller. This time, they are roughly the size of golf balls, which is a little too big. They are good out of the freezer, but because mine are so big, they are kinda hard to eat- I have taken to filling a smaller Zip Loc with them and leaving them out of the freezer and snacking on them at room temperature.

Wednesday, January 30, 2013

A New Way to Do Pie

I have been on a diet or about to start a diet most of my life. Some diets have been very successful and others not so much. I have an unstoppable sweet tooth that tends to be the death of most of my diets. Some people prefer salty, I prefer sweet.

So, when I am dieting I am always looking for a dessert that won't ruin my diet but that will satisfy my sweet tooth. It is really a tricky situation. When I find a dessert that is both diet and delicious, I have to commit it to memory. And I have found one. No, it is not chocolate cake with chocolate icing nor is it ooey-gooey bars but, as far as diet desserts go, this one is a home-run. And it's super easy to make- to boot!

Here's what you need:


  •  Sugar Free Jell-O of your choice flavor
  • 2 (8oz) packages of Light Yogurt of the corresponding flavor
  • 1/4 cup water
  • 8oz Cool Whip
  • pie crust


Diet Pie Ingredients

This week I made an orange flavored one. I have made a key lime flavored one and a cherry flavored one. However, this week I was going for the orange Julius flavor. The first step is to bring your 1/4 cup of water to a boil on the stove-top and dissolve the jell-o in it. Add the yogurt and stir until combined.

Combine Jell-O and Yogurt

Then add the cool whip

Add Cool Whip

And pour mixture into the pie crust

Light and Fluffy and Awesome

And there you have it. It's just light and fluffy and awesome.


What Scratch?

I have seen several articles on the information super highway about walnuts getting rid of scratches on hard wood floors. And all I'm saying is that over a year ago some scratches appeared on the staircase. I'm not claiming to know how in the world they got there, but in all fairness, I must mention that the scratches were first noticed after this Christmas tree was drug from the attic downstairs carefully and lovingly decorated.

Christmas Tree 2011

So..... I finally got my hands on a walnut and remembered to try this tip on the staircase. Here is the before picture:
Scratch

There was a blatant little scratch on every step, like maybe something was ,ahem, drug down the stairs.

And here is the after photo:

No Scratch

Although the physical scratch did not disappear, it is really less obvious. And unless you are looking for the scratch, you are likely to never see it. I will certainly be adding this trick to my arsenal.

Breakfast Burritos is the Way We Go.

Breakfast is the most important meal of the day. It gets your metabolism rolling. To be honest, I went many years rarely, if ever, eating breakfast. I love breakfast foods- pretty much all of them but, used to, I would get up, drink a coke and smoke a cigarette and begin my day. But, (sometimes sadly) those days are over. These days, I eat breakfast every morning and I try to eat a protein and fiber heavy one at that.

One of my favorite genres of food is Mexican. Enter the Breakfast Burrito! They show up in our breakfast rotation fairly regularly. Normally, we make them and eat them. But then, I saw a couple pins on Pinterest where cooks were making a big batch and freezing them. Awesome! When it is just me in the morning, I like easy breakfasts- when Bub is at home, we usually make a big breakfast. And then, also, I try to keep things on hand for him when he had to be at work at ungodly hours. So, freezing breakfast burritos have turned out to be just the ticket. 

The way I was taught to cook breakfast burritos, eggs are the base and then you can add whatever you want to make them tasty to you. You can use anything- mushrooms, spinach, hot peppers, tomatoes, and number of herbs- you can even use leftovers. This is what I put in these burritos:
  • 6 eggs plus 1 cup egg whites
  • 1 pound of sausage
  • 1/2 red onion
  • 1/2 green bell pepper
  • 1 bag of hash browns (shredded)
  • Cheese!
  • flour tortillas, fajita size
Breakfast Burrito Ingredients

First, brown your sausage and cook your hash browns separately and then combine them.

Brown Your Sausage & Cook Your Hash Browns & Combine
And while this is cooking, saute the onion and bell pepper.

Saute the Onion and Bell Pepper

And while everything is cooking combine your eggs and egg whites.

Combine Eggs and Egg Whites

Pour the onion and bell pepper in with the sausage and hash browns and then pour the eggs over the whole of it and scramble it all together until the eggs are cooked and put the cooked mixture into a mixing bowl.

*It was at this point that I realized that I had forgotten about cheese- better late than never- so, I covered the  heaping mound of burrito innards with cheese

Cheese!

and mixed it.

Mix

Now, it's time to roll 'em up!

1 cup of mix in the middle

I like phattys, so I put about a cup of the mixture on the tortilla and folded in the sides:

Fold the Sides In

and rolled it forward:

Roll Forward
and BAM! you've got a breakfast burrito! Garnish with Salsa and Sour Cream and call it a day!

Garnish with Salsa & Sour Cream

Admittedly, I did stop at this point in the process and have one. It was great- I really hoped that the tastiness would survive the freezer. It does but, I get ahead of myself. I wrapped them individually in saran wrap and then put them in a Zip Loc bag with the warming instructions written on them: 45 seconds in the microwave then flip it over and 30 seconds more in the microwave. 


They do survive the freezer well. I told Bub, these would probably be a part of our lives forever- I can just see these being a God-send when Baby Bub starts school. Yeah, he's not even 6 months old and I'm planning school-day breakfasts. Bub, likes these- he says they stick to your bones. 

Here's the recipe:
  • 6 eggs plus 1 cup egg whites
  • 1 pound of sausage
  • 1/2 red onion
  • 1/2 green bell pepper
  • 1 bag of hash browns (shredded)
  • Cheese!
  • flour tortillas, fajita size
Brown and drain the sausage. Cook the hash browns. Saute the onion and bell pepper. Combine eggs and egg whites. Add everything together and scramble until eggs are cooked. Remove from heat and add cheese. Roll this mixture in the tortillas. Wrap individually and freeze.